

Our Staining Process: How We Prepare and Protect Outdoor Wood
A lasting finish starts before the stain goes on. Learn how cleaning, preparation, moisture checks, and careful application work together on decks, fences, and pergolas.
Why Preparation Matters Before Staining
Our staining process begins with the wood beneath the finish. Dirt, failing coatings, and excess moisture can prevent a new stain from performing as intended.
Outdoor wood faces sunlight, rain, and daily wear. Over time, the surface can turn gray or collect organic buildup. Old coatings may also peel or wear unevenly.
Simply adding more stain does not solve those problems. Instead, we assess the surface and choose suitable preparation for the wood and coating system.
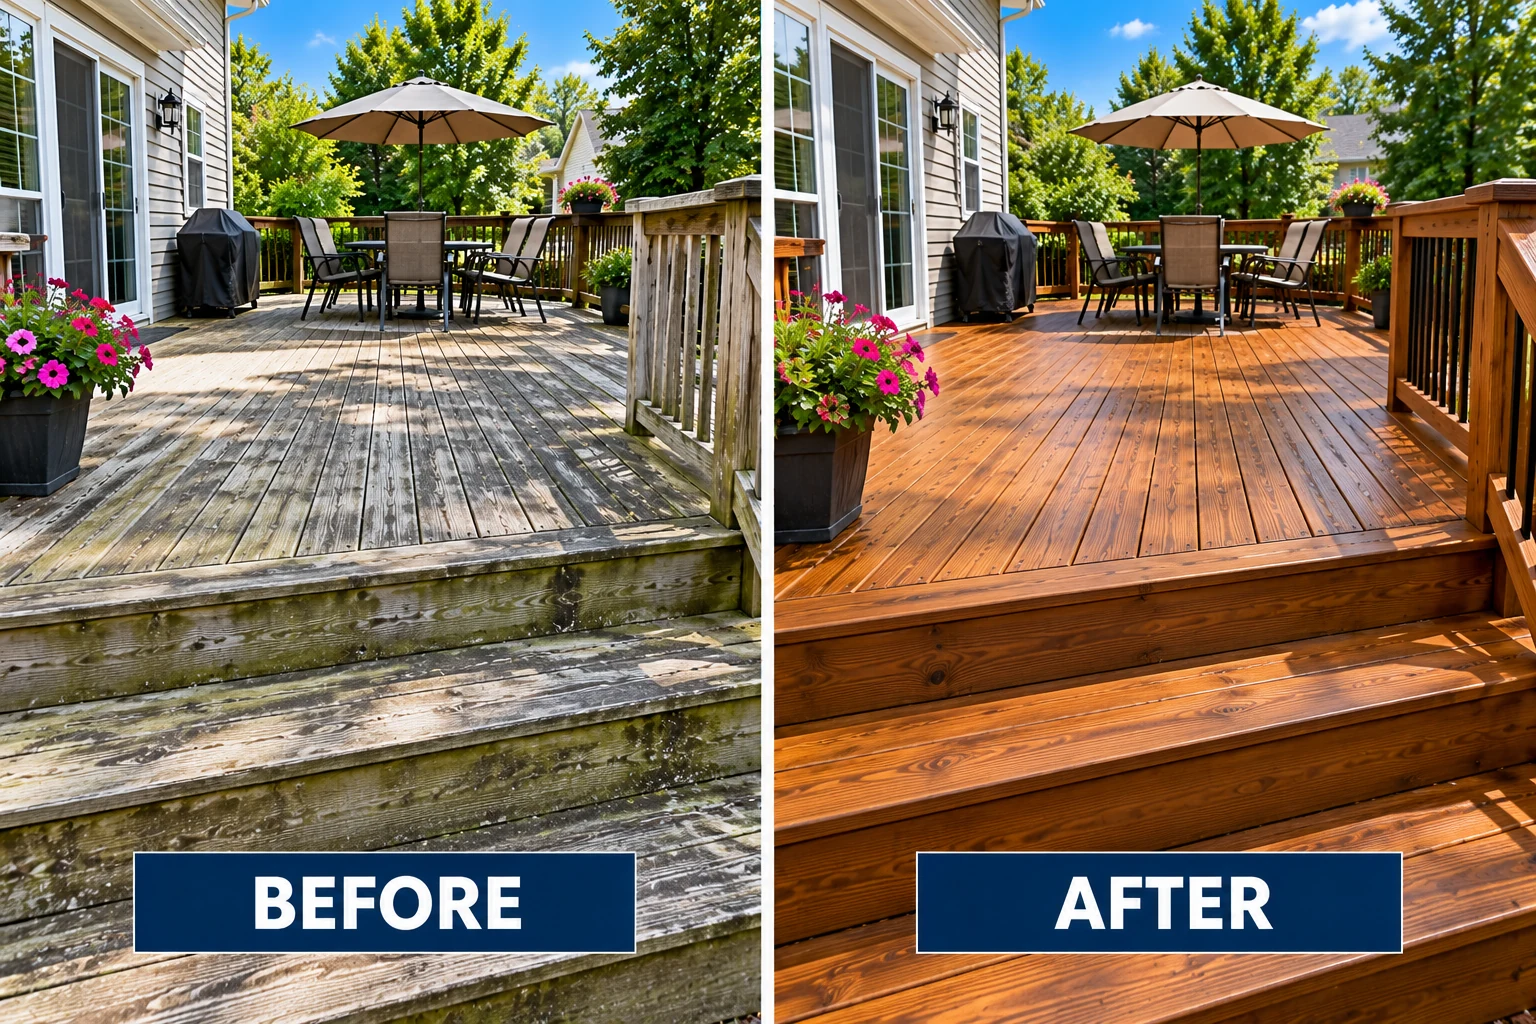
Step 1: Assess the Wood and Existing Finish
First, we review the wood type, visible wear, and previous treatments. We also discuss your preferred appearance and how the space is used.
- Material: Cedar, treated pine, and dense hardwoods can need different care.
- Existing coating: A sound stain and a peeling film require different preparation.
- Condition: Loose boards, soft spots, or damaged rails may need repair first.
- Scope: Steps, railings, lattice, and fence sides should be clearly identified.
Tell us which products were used in the past, if you know. Installation records and leftover labels can help us assess compatibility.
Cleaning Is Different From Repair
Preparation can improve sound, weathered wood. It cannot restore strength to rotten boards or repair an unsafe structure. Those issues need a qualified repair professional.
Step 2: Clean With a Wood-Appropriate Method
Next, we treat dirt and surface buildup with a suitable cleaner. The cleaning method must respect both the wood fibers and nearby materials.
Aggressive pressure can gouge wood or leave visible marks. Some wood suppliers advise against pressure washing. We choose a controlled method based on the material’s guidance.
Cleaning also helps reveal the surface beneath the grime. Afterward, we can better judge which marks relate to dirt and which involve wear or deeper staining.
Step 3: Remove Failed Coatings When Needed
Not every project needs stripping. A sound, compatible finish may only need maintenance preparation.
However, a peeling coating or incompatible product can interfere with the new finish. These surfaces may need stripping, sanding, or another approved removal method.
A small test helps us understand how the old coating responds. Thick paint and multiple coating layers can require more work than routine stain maintenance.
Why We Avoid Staining Over Problems
A new coat cannot reliably hide a failing finish underneath. Proper removal and preparation help create a suitable surface for the selected coating.
Step 4: Brighten or Neutralize as the System Requires
Some cleaning and stripping systems include a separate brightening step. A compatible product can help address discoloration and prepare the surface for finishing.
When the system calls for neutralizing an earlier treatment, we follow its instructions. This is a product-specific step rather than a universal chemical recipe.
We rinse as directed and avoid leaving cleaner residue behind. Brightening does not replace cleaning, and it will not remove every deep stain.
Step 5: Let the Wood Dry and Check Readiness
Wood can feel dry on top while still holding moisture. That is why a fixed waiting period does not suit every project.
Shade, humidity, wood species, and temperature affect drying. Moisture readings help check whether the wood meets the selected finish’s requirements.
Where appropriate, targeted sanding can address rough areas or raised fibers. The sanding method must also suit the wood and coating system.
New Wood Needs Preparation Too
New lumber may need drying and surface preparation before staining. Follow the wood and finish manufacturers’ guidance rather than assuming every new deck needs the same waiting time.
Step 6: Choose a Compatible Stain and Color
We discuss appearance and maintenance before application. The right product must suit the material, existing treatments, and surface use.
Transparent Finishes
These show more of the wood’s natural character. Color and UV protection depend on the product. Clear treatments may offer limited UV protection.
Semi-Transparent Stains
These add color while keeping the grain visible. A sample on prepared wood helps show how the final color may look.
More Opaque Stains
Semi-solid and solid-color products provide more coverage. Product suitability and future preparation should be considered before choosing them.
Specialty Wood Finishes
Ipe and other dense hardwoods may need hardwood-specific coatings. Engineered bamboo and modified wood need their manufacturer’s approved care system.
Deck coatings must be suitable for horizontal walking surfaces. A product intended only for fencing or siding may be unsuitable for a deck floor.
Oil-based and water-based products have different requirements. Neither category is automatically the best choice for every project.
Step 7: Protect Nearby Areas Before Application
Stain can mark siding, concrete, stone, and outdoor furnishings. We plan for masking and protection before application begins.
Close bushes and flowers also need care. Any protective covering must be managed so it does not harm plants through trapped heat.
Wind and weather affect the application plan. Clear access and preparation help us work around the surfaces that should remain untouched.
Step 8: Apply the Finish Carefully
Application may use brushes, rollers, or sprayers according to the product and project. Brushing or back-brushing is included where the system requires it.
We manage coverage across boards and adjoining areas. Working with the wood’s grain and maintaining suitable application sections helps reduce uneven marks.
Coat count and coverage follow the selected product. More stain is not always better. Excess product may leave residue or create drying problems.
End grain, edges, and accessible details need attention within the agreed scope. Dense wood may absorb finish differently from softer boards.
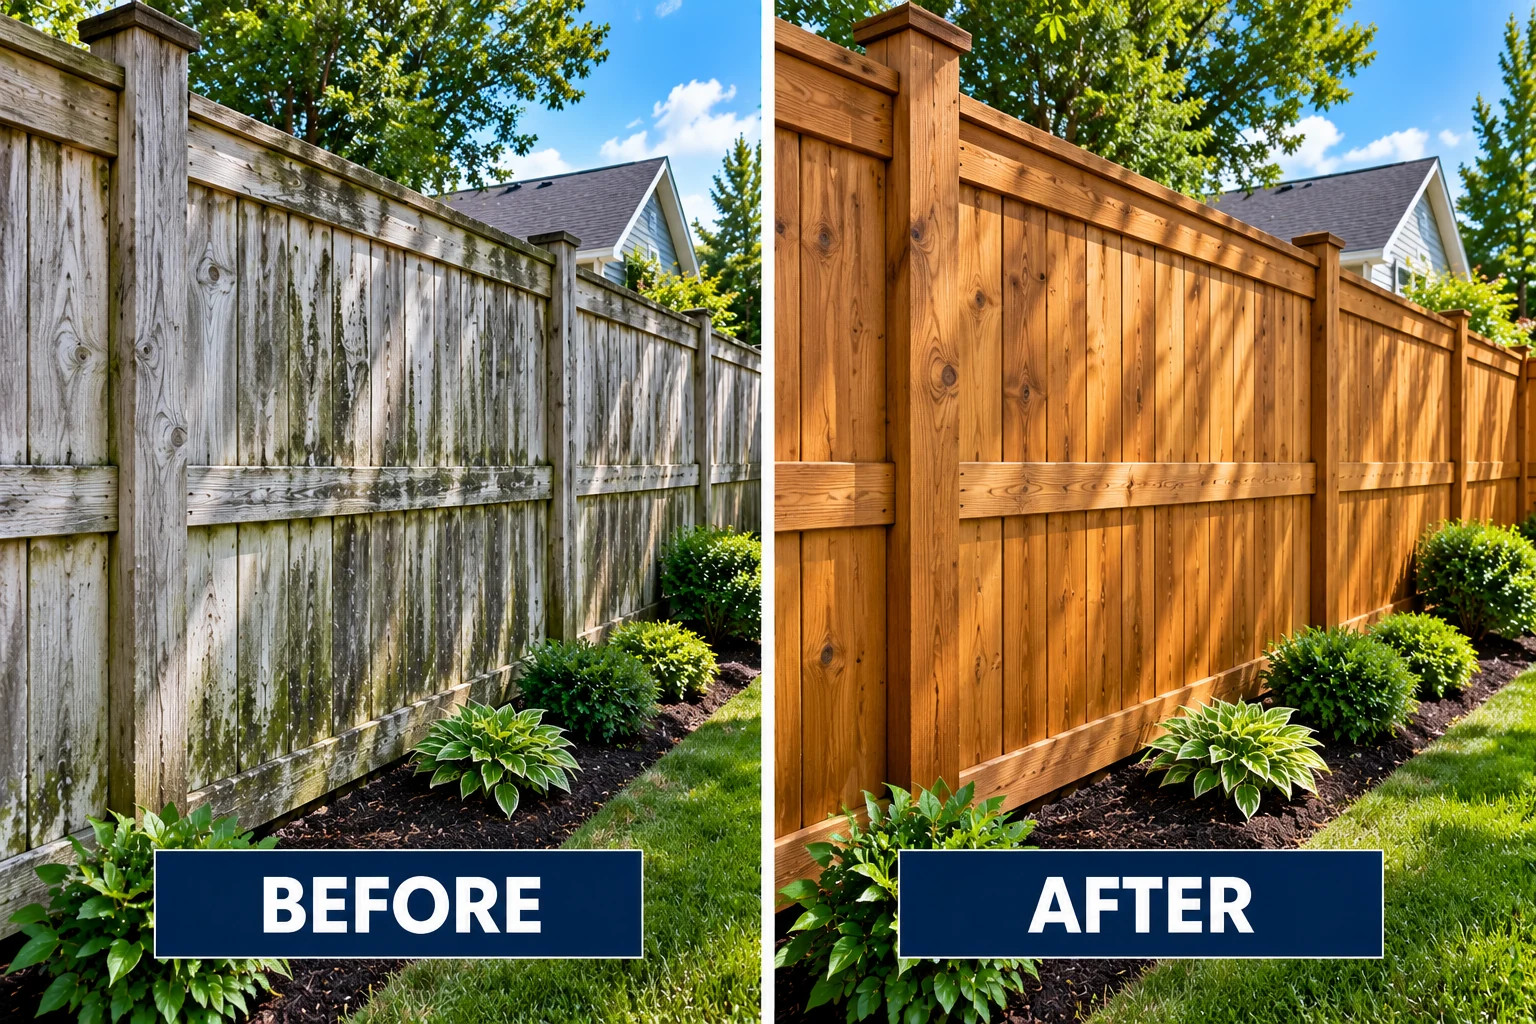
Step 9: Allow Curing and Review the Result
Dry to the touch does not always mean ready for furniture or foot traffic. We explain the selected product’s return-to-use guidance.
Keep pets, children, and items off treated areas until the finish allows use. Weather can also affect curing and the schedule.
Our review covers the agreed work and visible results. Natural grain, knots, and differences between old and replacement boards can remain noticeable.
Ask for any applicable warranty terms in writing. Coverage should be tied to the agreed project and product rather than a broad promise about every surface.
How to Maintain Your Stained Deck or Fence
A new finish starts a maintenance cycle. Routine care helps you spot wear before it becomes widespread.
- Remove leaves and debris from deck boards and gaps.
- Keep planters from trapping moisture against the finish.
- Use a cleaner compatible with the applied coating.
- Address persistent wet areas and drainage concerns.
- Check high-traffic deck areas and sun-exposed fence faces.
- Inspect loose boards, posts, rails, and fasteners.
The maintenance interval depends on exposure and the finish. Deck floors may wear differently from railings and vertical fence boards.
Recoating should follow the product’s instructions. Do not assume every surface needs annual stripping or another coat.
Oil-soaked application materials can create a fire hazard. Handle them exactly as the product label directs.
How to Prepare for Your Staining Project
Clear furniture, grills, planters, and décor before the crew arrives. Let us know about access limits, sprinkler schedules, and previous coatings.
For fences, confirm which sides are included and arrange any needed access. For decks, identify steps, rails, and other features you want treated.
Read our day-of-service preparation guide and explore our deck reconditioning services.
Staining Process Questions
Can you stain immediately after cleaning?
Only when the wood meets the selected product’s moisture and preparation requirements. Surface appearance alone does not confirm readiness.
Does every project need stripping and brightening?
No. The existing finish and selected coating system determine the steps. We assess the surface before defining the preparation work.
Will the color match the sample exactly?
Wood species, age, grain, and previous treatments affect color. A sample on your prepared surface gives a better guide than a screen image or printed chart.
How long will the finish last?
Exposure, traffic, preparation, and product choice affect wear. We discuss maintenance expectations for your project rather than promising one lifespan for every surface.
Can staining hide damaged wood?
More opaque products can cover some color variation. However, they cannot repair rot, restore structural strength, or guarantee that every defect will disappear.
How much does staining cost?
Area size, wood condition, preparation, access, and finish choice affect the price. Steps, railings, and fence sides also influence the agreed scope.
Better Preparation. A Finish Chosen for Your Wood.
Contact Ohio Power Washing for a free estimate. We will explain the staining process, preparation needs, and maintenance expectations for your Columbus-area property.